Dell Wyse 5070
Published: November 01, 2024
During OggCamp 2024, I joined two talks about
Home Assistant, one by Charlie O'Hara called "Automating the home and
annoying the loved ones", and the other called "Home Automation" by
Millie Perkins. My first experiences with Home Assistant were mixed,
and I moved away and start doing the small automation around the house
from the ground up with ESPHome, Node-RED, Grafana and MQTT, all
running in docker containers initially on a Raspberry Pi4,
but latterly in a Debian VM on the Proxmox instance on my home server.
After the two talks, I decided to get a small server, and set up Home Assistant on it. I will document this as I progress, as my plan has several steps!
Plan
Buy a cheap 1 litre PC to use as a server. From the various advice shared in OggCamp, I was looking for a Dell Wyse 5070, but also consider the Lenovo range of 1 litre PCs, as these seem to have good reports.
Install a base operating system, but do it in a way I can set up backups, and re-install if required in the future.
Install Incus. This was explained in another talk about "System Containers" by
Paul Barkeras a better option than using Docker containers on account of the difficulties with debugging and managing the latter when there are issues.Install Home Assistant in an Incus container.
Setup the necessary automation to ensure backups are done promptly, and the system elements can be kept up to date.
Actually try to restore a backup a week or so later, before there is too much data to loose in the systems.
Step 1: Buy the Server
Scouting round eBay, I could see many options, for quite a wide price range. In the end I was offered a Dell Wyse 5070 without SSD (apart from 16GB eMMC), 4GB of RAM, and with the Pentium Silver J5005 processor for £45. Seemed reasonable, so I bought it!
Setup
Monitor Connection
When I received it, my first challenge was getting it connected to a monitor. It has three DisplayPort outputs, but my desktop monitor has one DisplayPort input, three HDMI inputs, and a USB-C input.
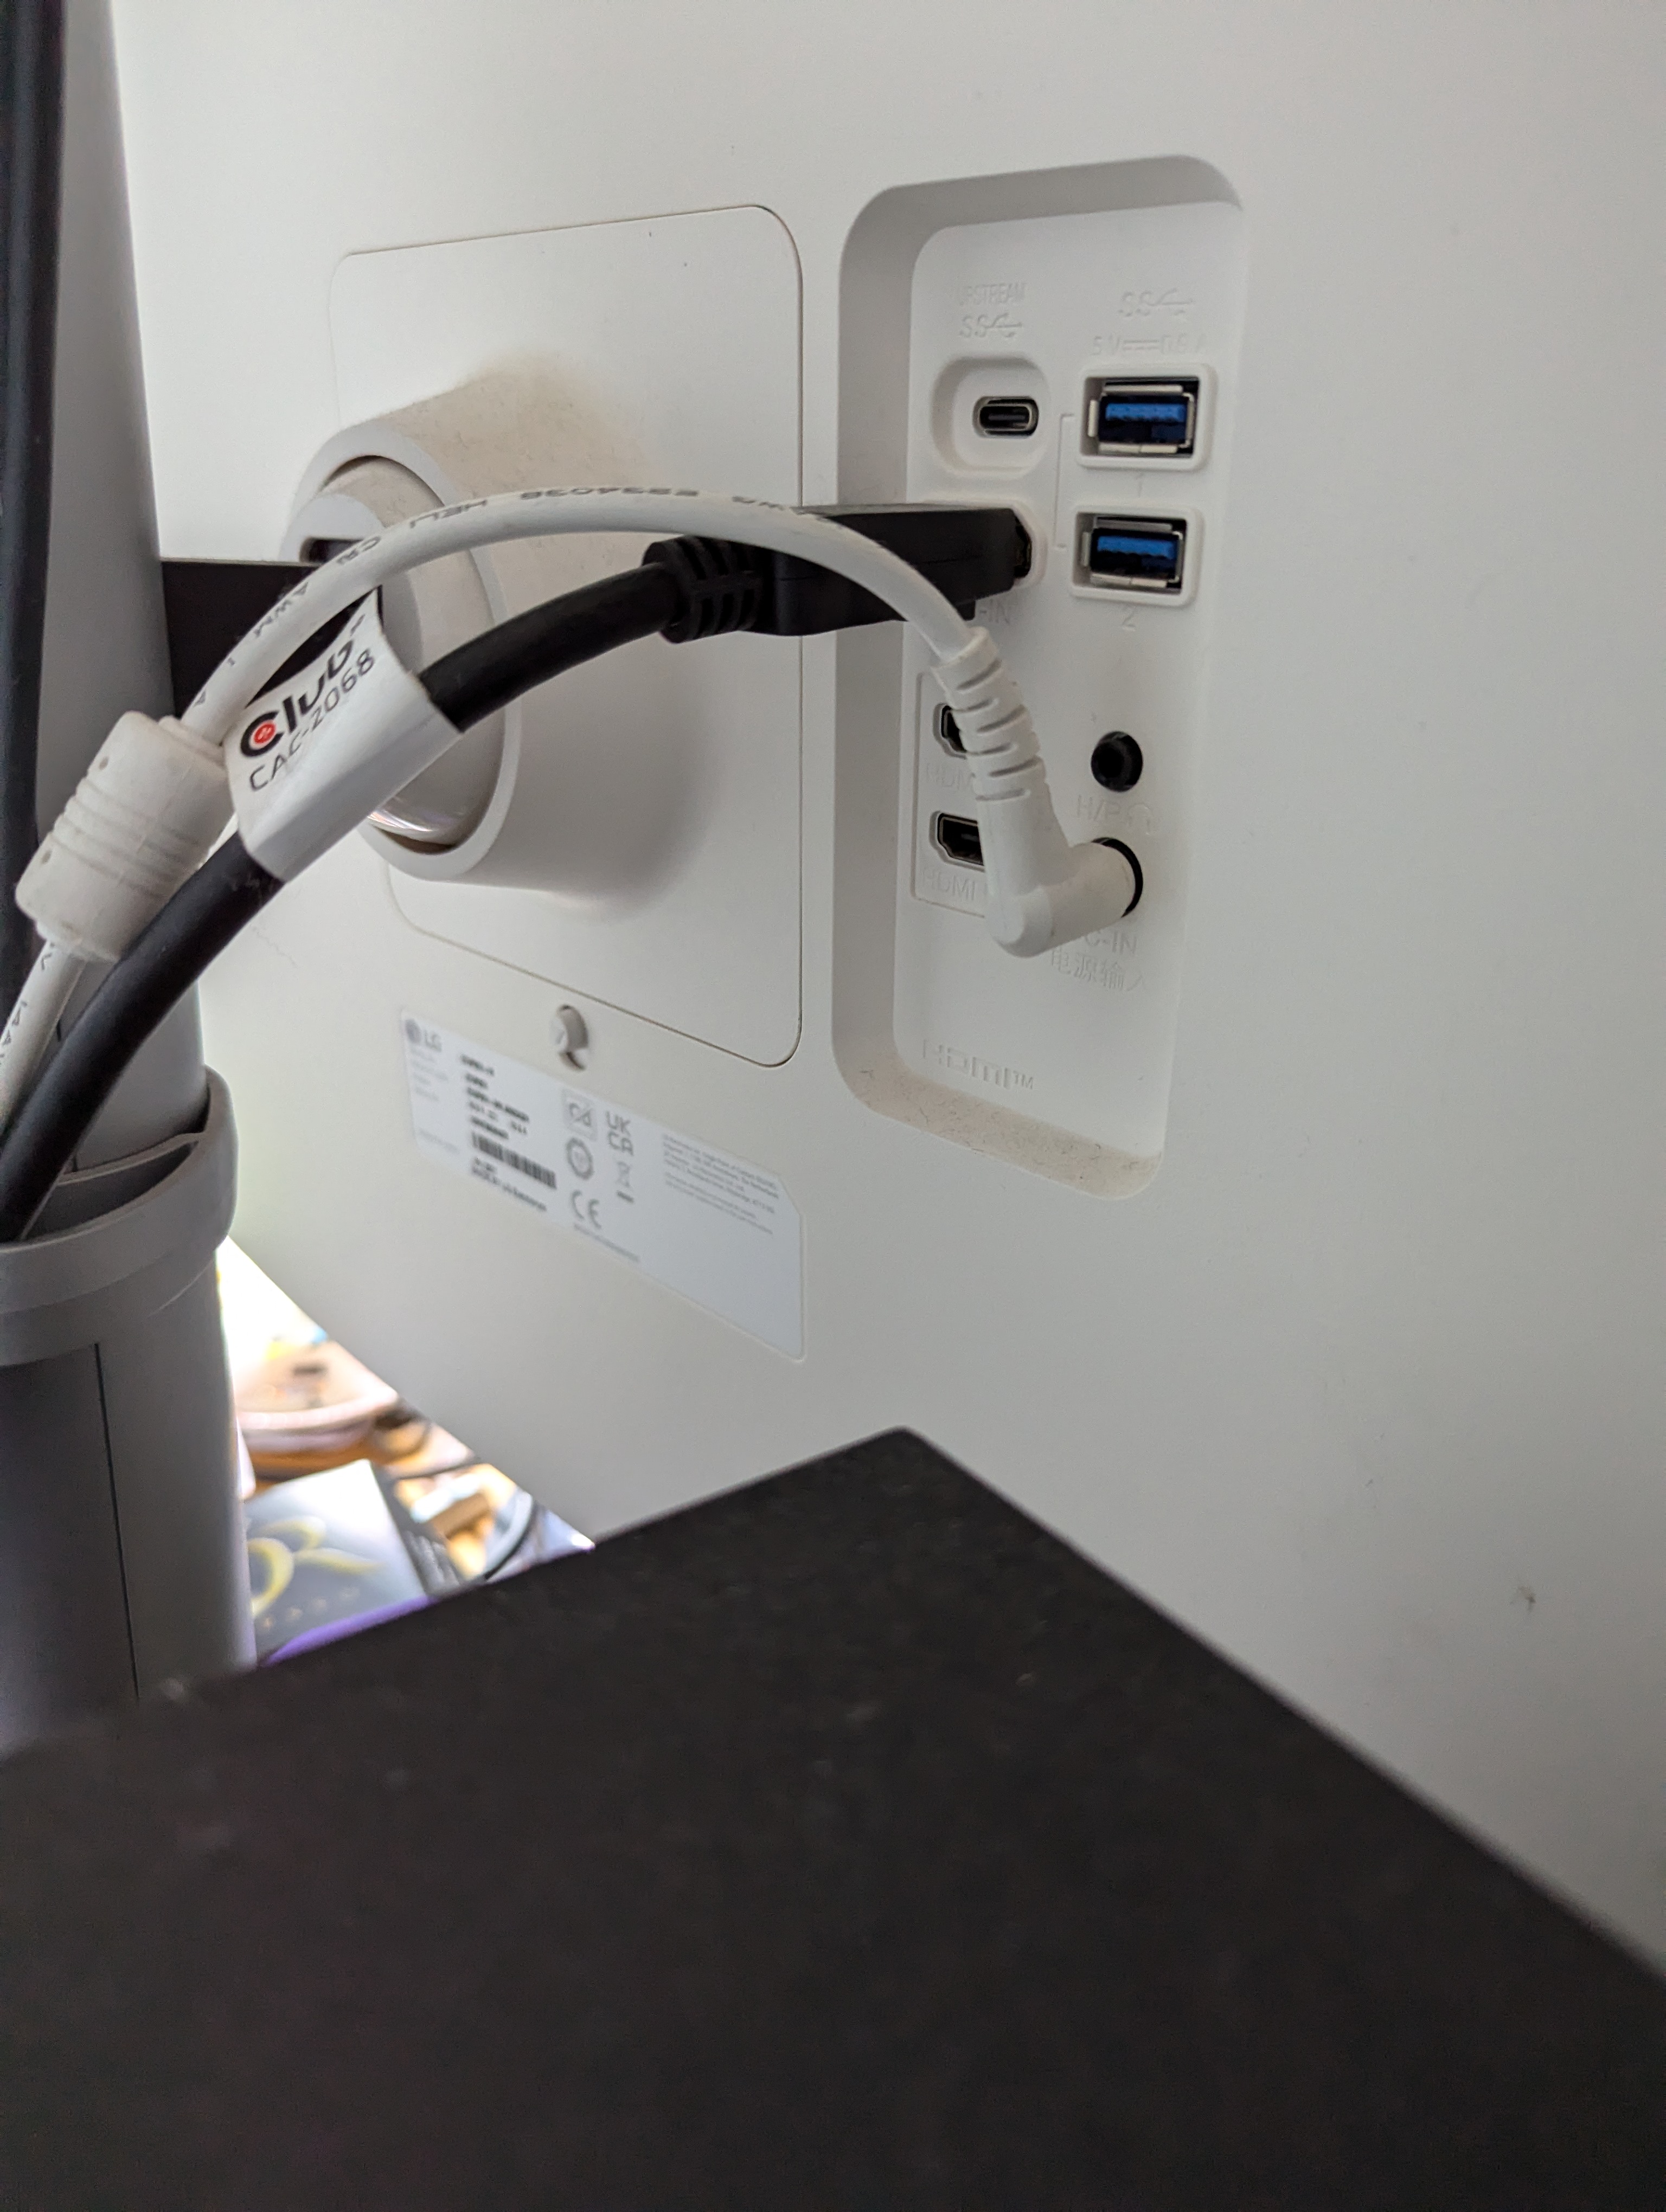
I have another spare monitor, but that has an HDMI input, a VGA input and a DVI input. I didn't have any cables lying around which will change DisplayPort to HDMI. In the end, I noticed that the 5070 has a USB-C displayport output on the front panel, so I used a full featured USB-C cable normally used between my laptop and USB-C docking station to get everything going. Obviously once everything is setup, I don't need to have access to the video output, as everything can be done over ssh and the web interface.
Memory Upgrade
Next challenge was upgrading the memory. I had two 4Gb SO-DIMM sticks I was planning to use to replace the single 4Gb stick installed when I received it. However, they were 2400 speed, and the one coming out was 3200, so I decided to get two new sticks. If I am going to buy new, I may as well increase the memory capacity, so 2x16Gb sticks it is then. At this point, I had already booted up the device and confirmed it was working. I removed the single stick, and installed the two sticks, but then it didn't boot. After a bit of research, I realised I was being impatient. It seems that when the memory changes, the device goes through extensive checking of the new memory, and this can take some time, but only on first boot. My advice - if you do change the memory on one of these devices - boot it up then go and do something else. If you put 32Gb, it seems it can take a couple of hours!
Unknown BIOS Password
BIOS password - you can change this by moving a jumper on the motherboard and rebooting. For more details about this, and re-purposing thin clients in general, have a look at this excellent site here (also shared at Oggcamp!).
SSD drive installation
I had a 256Gb NVME ssd drive which I had removed from a laptop last
year. Installing in the 5070 is straight forward, with one
challenge. The stand off and screw used to secure the drive are not
provided with the device. These items are not standard, and if (like
me) you order standard parts online, you will end up with the wrong
parts. In the end, I took a motherboard standoff, then put it in the
lathe and turned the length down to about 4mm. In order to protect the
drive, I then used a plastic washer under the retaining screw. Once
installed, I realised the drive was not recognised. Further
investigation showed that the drive needs to be an m.2 SATA drive, not
NVME. So I bought a 500Gb SATA drive for it, and installed that. It is
now recognised in BIOS.
BIOS version
My device had the latest BIOS installed. See the website linked here if you need to update the BIOS version.
Operating System
I did consider using NixOS, having had some success with it on a laptop for about 6 months earlier this year. I ended up removing NixOS from the laptop and replacing it with Gentoo because I don't enjoy all the community fighting about the direction of NixOS. I had previously used Guix, but with less success. On reflection, that was down to my lack of understanding of the key concepts. Having spend more time with Nix and having a better understanding of the approach for this type of operating system I have decided to go with Guix. I want to be able to define the system and reproduce it if I need to re-install - the big draw of this approach. It doesn't have Incus as a package, so I will have an opportunity to learn how to package applications, and hopefully contribute back to Guix. Installation is straight forward using the graphical installer. I did have an issue where I managed to delete the boot entry in the BIOS (and therefore in the EFI record??), but just re-installed Guix again. I will say - if you are changing the boot priority, be careful not to delete any of the entries. There is no "Save" or "Confirm" - they are deleted immediately! I need to play with this in more detail to make sure I understand what is going on before getting to the point I don't want to loose work. I am sure there is a way to reinstate the boot record when you delete it.
Summary
So I have the server up and running with Guix installed on the 16Gb eMMC drive. Next step is to learn more about Guix so I can set everything up as planned, and install Incus. I will document this once it has happened.